A peek inside pinentry
Recently I got a new work computer, and have been taking the opportunity to rework my dotfiles, configs and install scripts while setting up the new machine. In the process I was reading through options for gpg-agent and started wondering, how exactly does pinentry work?
pinentry
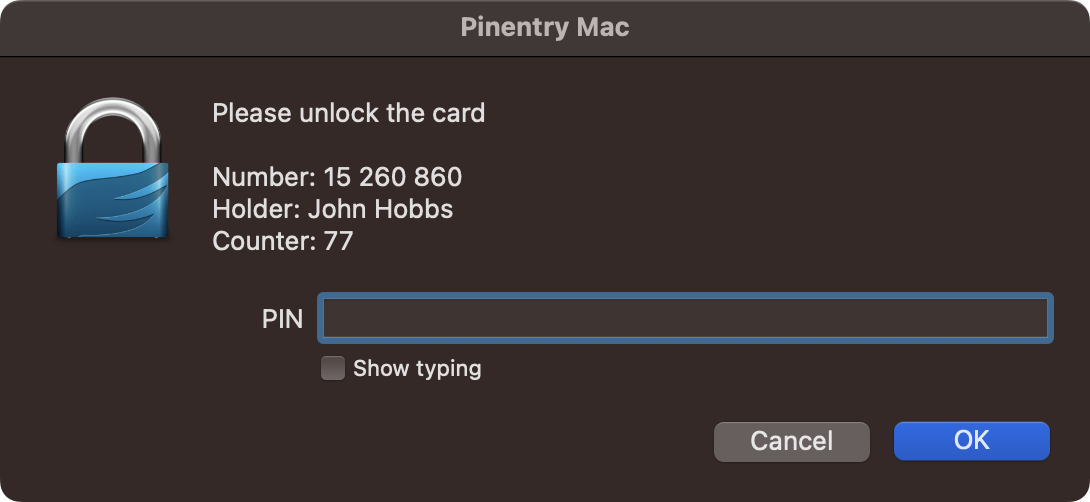
pinentry is: "...a small collection of dialog programs that allow GnuPG to read passphrases and PIN numbers in a secure manner...". I see it regularly when using my Yubikey to sign commits or connect over SSH. Specifically, I see pinentry-mac from GPGTools.

Initially, I just ran pinentry-mac and was presented with no dialog, just this inscrutable message:
jmhobbs:~ ✪ pinentry-mac
OK Pleased to meet you
The help flag did not enlighten me either:
jmhobbs:~ ✪ pinentry-mac --help
pinentry-mac (pinentry) 1.1.1
Copyright (C) 2016 g10 Code GmbH
License GPLv2+: GNU GPL version 2 or later <https://www.gnu.org/licenses/>
This is free software: you are free to change and redistribute it.
There is NO WARRANTY, to the extent permitted by law.
Usage: pinentry-mac [options] (-h for help)
Ask securely for a secret and print it to stdout.
Options:
-d, --debug Turn on debugging output
-D, --display DISPLAY Set the X display
-T, --ttyname FILE Set the tty terminal node name
-N, --ttytype NAME Set the tty terminal type
-C, --lc-ctype STRING Set the tty LC_CTYPE value
-M, --lc-messages STRING Set the tty LC_MESSAGES value
-o, --timeout SECS Timeout waiting for input after this many seconds
-g, --no-global-grab Grab keyboard only while window is focused
-W, --parent-wid Parent window ID (for positioning)
-c, --colors STRING Set custom colors for ncurses
-a, --ttyalert STRING Set the alert mode (none, beep or flash)
Please report bugs to <https://bugs.gnupg.org>.Clearly, there was more to be found here. Luckily, there are docs. Of a sort. Pinentry does not ship with a man file, but it does have an info file, from which pretty much all you need to learn can be found.
The Assuan Protocol
Pinentry uses a text based protocol called the Assuan protocol. This protocol was developed for the GnuPG project, and is very simple. You have a client and a server, communicating generally through a pipe or a unix socket. Each message is composed of a command and parameters, which are optional. The command comes first and is space separated from the parameters. Each message is terminated by a carriage return + line feed, or just a line feed.
There are a number of messages and commands defined by the protocol (OK, QUIT, RESET, etc.) but each application extends these with it's own commands.
In our case, when running from the terminal, we are the client and pinentry is the server.
pinentry Specifics
There are three documented actions you can perform which actually display a prompt, they are:
| Command | Description |
|---|---|
GETPIN |
Ask the user for a PIN or passphrase |
CONFIRM |
Ask for confirmation |
MESSAGE |
Show a message |
With this knowledge in hand, we can now pop up a dialog and get a secret.

That's neat, but we can do better. pinentry also has a set of documented configuration commands. These are outlined in much more detail in the info documentation.
| Command | Description |
|---|---|
SETTIMEOUT [int] |
Set the timeout before returning an error |
SETDESC [description] |
Set the descriptive text to display |
SETPROMPT [prompt] |
Set the prompt to show |
SETTITLE [title] |
Set the window title |
SETOK [text] |
Set the button texts (confirmation button) |
SETCANCEL [text] |
Set the button texts (cancel button) |
SETNOTOK [text] |
Set the button texts (non-affirmative button) |
SETERROR [error] |
Set the Error text |
SETREPEAT |
Display a second input to confirm the passphrase |
SETQUALITYBAR |
Enable a passphrase quality indicator |
SETQUALITYBAR_TT [string] |
Set the tooltip value for the passphrase quality indicator |
OPTION constraints-enforce |
Enable enforcement of passphrase constraints |
OPTION constraints-hint-short=[string] |
Inform the user of passphrase constraints |
OPTION constraints-hint-long=[string] |
Inform the user of passphrase constraints |
SETGENPIN |
Enable an action for generating a passphrase |
SETGENPIN_TT [tooltip] |
Provide a tooltip for the passphrase generation action |
OPTION formatted-passphrase |
Enable passphrase formatting |
OPTION formatted-passphrase-hint=[text] |
Provide a hint for the user if passphrase formatting is enabled |
OPTION [ttyname|ttytype|lc-ctype]=[value] |
Set/configure the output device |
OPTION default-[ok|cancel|prompt]=[string] |
Set the default strings for translations |
OPTION allow-external-password-cache |
Enable passphrase caching |
SETKEYINFO [key identifier] |
Set a stable key identifier for caching |
Using some of these we can customize our prompt.

Writing Our Client
That's great, but obviously we don't want to manually control pinentry, we want to drive it from a separate application, just like gpg-agent does. Writing up a basic assuan protocol client isn't too complicated. The spec says messages should be 1000 bytes or smaller, so we have a defined buffer size.
func (c *Client) Read() (Response, error) {
  resp := Response{}

  buf := make([]byte, 1000)
  _, err := c.source.Read(buf)
  if err != nil {
    return resp, err
  }
There is a limited set of valid server responses, so we do the lazy thing and split the returned buffer on space bytes and handle each case.
split := bytes.SplitN(buf[:bytes.IndexRune(buf, '\n')], []byte{' '}, 2)

switch string(split[0]) {
case "OK":
  resp.Type = Ok
  resp.Comment = string(remainingParameters(split))
case "#":
  resp.Type = Comment
  resp.Comment = string(remainingParameters(split))
case "ERR":
  resp.Type = Error
  resp.Code, resp.Description = innerSplit(split)
case "D":
  resp.Type = Data
  resp.Data = remainingParameters(split)
case "S":
  resp.Type = Status
  resp.Status, resp.Keyword = innerSplit(split)
case "INQUIRE":
  resp.Type = Inquire
  resp.Keyword, resp.Parameters = innerSplit(split)
default:
  return resp, fmt.Errorf("unknown command: %q", string(split[0]))
}
Client commands are a lot more varied, but we don't have to parse them only generate them. The one variation here is we need to escape them using %[hex-value]. So a line feed is %0A, carriage return is %0D and % itself is %25.
func Escape(input []byte) []byte {
  if input == nil {
    return nil
  }
  return bytes.ReplaceAll(
    bytes.ReplaceAll(
      bytes.ReplaceAll(
        input,
        []byte{'%'},
        []byte{'%', '2', '5'},
      ),
      []byte{'\n'},
      []byte{'%', '0', 'A'},
    ),
    []byte{'\r'},
    []byte{'%', '0', 'D'},
  )
}

func RequestGeneric(command string, parameters []byte) Request {
  var msg []byte
  if len(parameters) == 0 {
    msg = []byte(command)
  } else {
    buf := bytes.NewBufferString(command)
    buf.Write([]byte{' '})
    buf.Write(Escape(parameters))
    msg = buf.Bytes()
  }

  return func() []byte {
    return msg
  }
}

var (
  RequestBye   = RequestGeneric("BYE", nil)
  RequestReset = RequestGeneric("RESET", nil)
  RequestEnd   = RequestGeneric("END", nil)
  RequestHelp  = RequestGeneric("HELP", nil)
  RequestQuit  = RequestGeneric("QUIT", nil)
  RequestNOP   = RequestGeneric("NOP", nil)
)
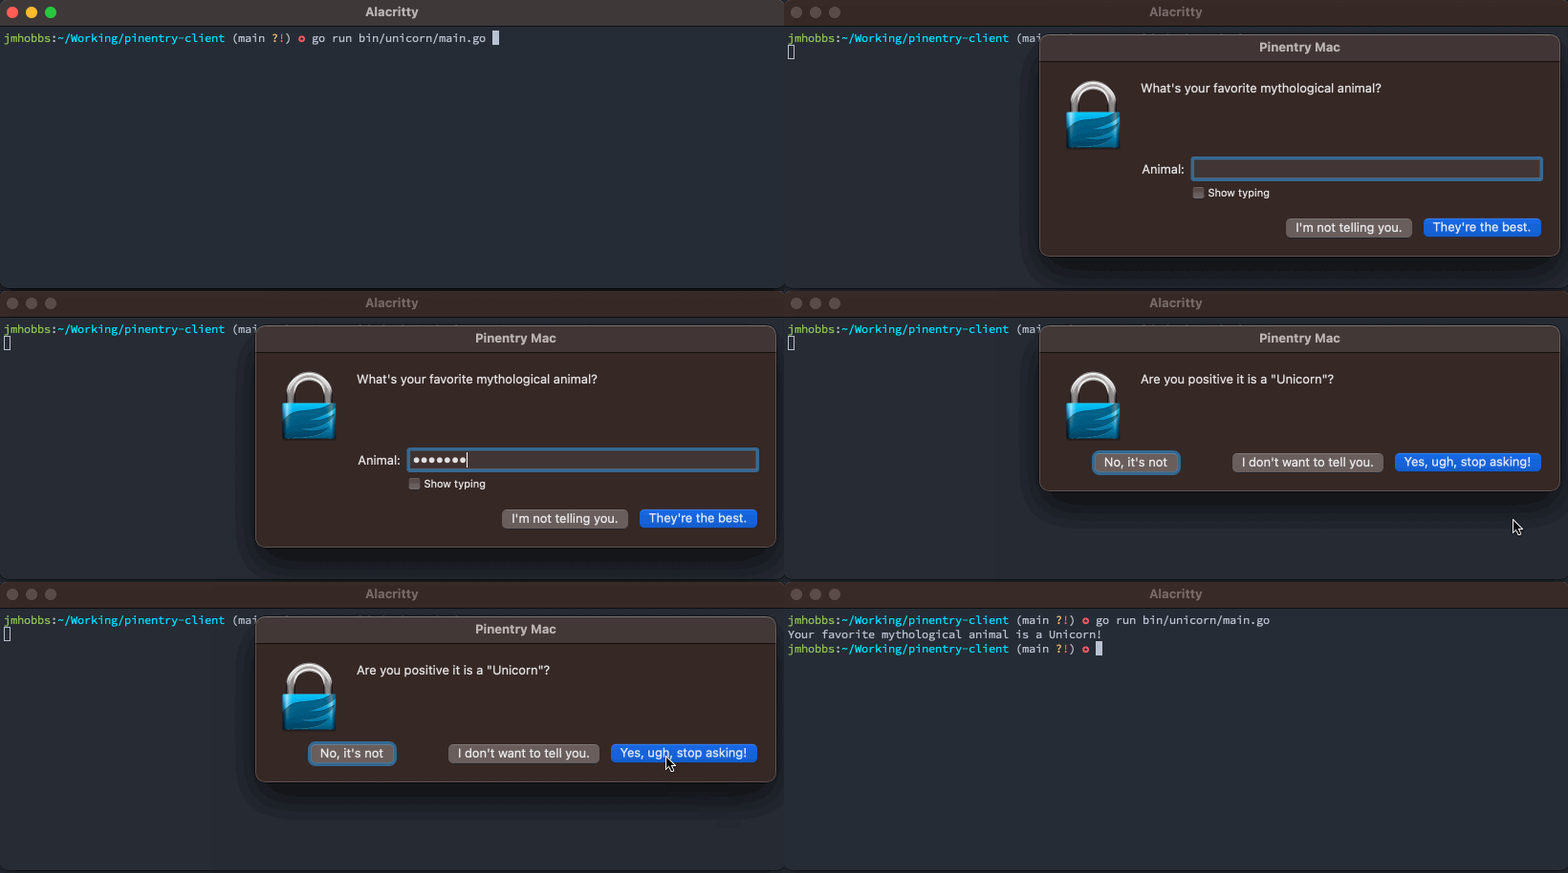
We can use these basics to create an API around the pinentry specific commands. Building up a queue of commands, exec-ing out pinentry and then running commands over stdin and reading responses over stdout. We end up with a fairly tidy (if incomplete) API.
pe := pinentry.New("pinentry-mac").
  SetDescription("What's your favorite mythological animal?").
  SetPrompt("Animal:").
  SetButtonOk("They're the best.").
  SetButonCancel("I'm not telling you.")

defer pe.Close()

secret, err := pe.GetPIN()
if err != nil {
  panic(err)
}
SETQUALITYBAR & INQUIRE
The final step to understanding is closing the loop of an interactive element between client and server. pinentry can show a strength meter using SETQUALITYBAR. Instead of having it's own logic of what makes a strong password, it delegates this to the connected client, allowing us to implement our own quality rules. It does this through the use of INQUIRE.
First, we need to establish what makes a good quality answer for our dialog. Obviously the unicorn is the undisputed best mythological animal, so we should use that as a measure of quality. A simple way to compare sequences is the Levenshtein distance between them. That is, the number of insertions, deletions and substitutions required to transform one sequence into another. For example, transforming "lawn" into "flaw" is a distance of 2. We insert an "f" at the beginning and delete the "n" at the end.
Levenshtein distance can be calculated in a number of ways, I chose one of the simpler methods, the Wagner–Fischer algorithm.
func levenshtein_distance(desired, target string) int {
  rows := len(desired) + 1
  cols := len(target) + 1

  distributions := make([][]int, rows)
  for r := 0; r < rows; r++ {
    distributions[r] = make([]int, cols)
    distributions[r][0] = r
  }
  for c := 1; c < cols; c++ {
    distributions[0][c] = c
  }

  for col := 1; col < cols; col++ {
    for row := 1; row < rows; row++ {
      cost := 1
      if desired[row-1] == target[col-1] {
        cost = 0
      }
      distributions[row][col] = min(
        distributions[row-1][col]+1,
        distributions[row][col-1]+1,
        distributions[row-1][col-1]+cost,
      )
    }
  }

  return distributions[rows-1][cols-1]
}
The correct answer, "unicorn" is 7 characters long, and we have the range -100 to 100, so let's split that into 7 chunks of about 28 points. So our score will be 100 - ( [LD] * 28 ). Unfortunately, in testing pinentry-mac treated scores as abs(<score>) which meant negative values looked pretty spot on. That is decidedly against the documented behavior "Negative values will be displayed in red." but we will just work around it.
func quality(input string) int {
  qlty := 100 - (levenshtein_distance("unicorn", strings.ToLower(input)) * 14)
  if qlty < 0 {
    return 0
  }
  return qlty
}
With that in place, we get this lovely, unicorn affirming quality bar.

The Other Side
That's it, I feel like I now know, more or less, how pinentry works. It's not the most elegant, nor the best documented, but it's effective and relatively simple.
It's simple enough, that it wouldn't be wild to implement your own pinentry with whatever GUI or TUI toolkit you might have around, things like pinentry-bemenu for a trimmed down version that fits in with sway. I'll leave that for another day however, as there are plenty of pinentry implementations already.
All the code used in this post is available on GitHub: github.com/jmhobbs/pinentry-client